
1.7 KiB
1.7 KiB
Intro and Setup https://www.youtube.com/playlist?list=PL4cUxeGkcC9gpXORlEHjc5bgnIi5HEGhw
- Css framwork made of utility classes and are much lower level than Bootstrap, Materialize etc for improved flexibility Installation
npm init -yto create package.json base file and thennpm i tailwindcss postcss autoprefixerto install these modules locally How it works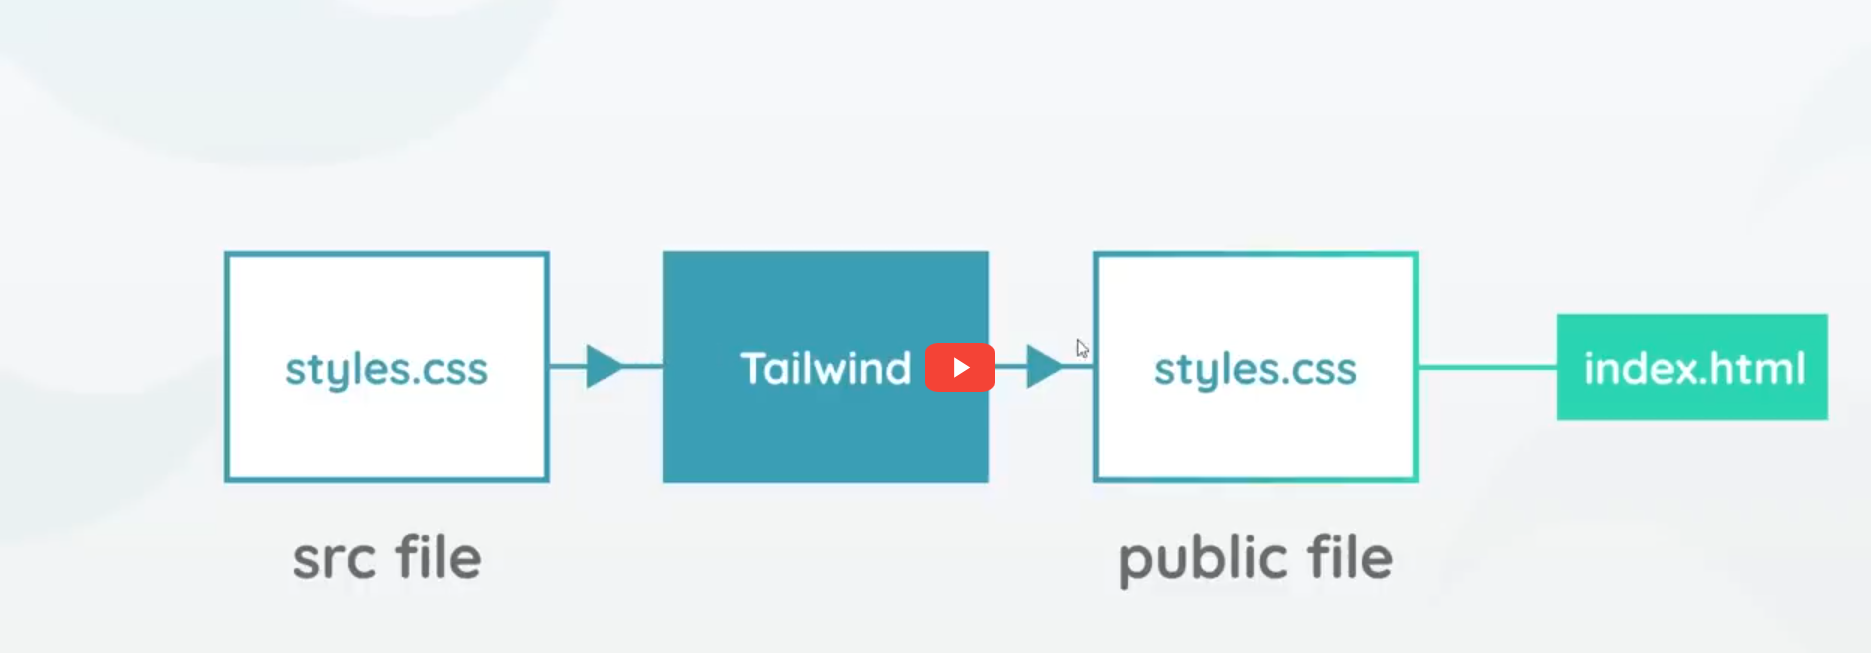 in src all the classes of tailwind and importted and tailwind script compiles it to output public style.css files which is interpretated by browser.
We can also add our styles in src file too but that is not needed often
Setup
- Create directory named
srcandpublicand insidesrcaddstyle.cssand add followiing code@tailwind base; @tailwind components; @tailwind utilities; - Also do
npx tailwindcss initand add following intailwind.config.js
If html file is int public folder then it is public/** ... . if its in src then it is src/**../** @type {import('tailwindcss').Config} */ module.exports = { content: ["./public/**/*.{html,js}"], theme: { extend: {}, }, plugins: [], }; - In package.json under scripts section add the following script
"build-css": "tailwindcss build src/styles.css -o public/styles.css" - Now run
npm run build-cssto generate style.css at public folder. this public folder may have index.html file too - Without npm, in order to use tailwind simply add following cdn link
<link href= "https://cdn.jsdelivr.net/npm/tailwindcss@2.2.19/dist/tailwind.min.css" rel="stylesheet"/>
also make sure to install this if there are problems npm i tailwindcss@3.4.17 --save-dev