6 KiB
spacebar chat also on https://sbar.fyi client on https://git.sovrahi.com/oh64/Fermo
Date created : 11 feb 2026 Server setup
- Get the files from https://github.com/spacebarchat/server
- Now make sure to have node, python and psql installed. check version requiremnts on site
- Install all node depedencies with
npm i - Setup the postgresql database by creating a database say
spacebarwith querycreate database spacebar - Create a .env file in root of project and type
postgres://postgres:PASS@localhost:5432/spacebarhere PASS is password. by default password maybe your system one which is used to install program - Now run
npm run buildto build distribution files andnpm run startto execute those - There will be error related to invalid values of configs. In database spacebar many tables will be created. One such is config. So update some values. If using cli then execute following queries
 update config set value='"http://localhost:3001"' where key='general_serverName';
 update config set value='"http://localhost:3001/api/v9"' where key='api_endpointPublic';
 update config set value='"http://localhost:3001"' where key='cdn_endpointPublic';
 update config set value='"http://localhost:3001"' where key='cdn_endpointPrivate';
 update config set value='"ws://localhost:3001"' where key='gateway_endpointPublic';
or in .env use
DATABASE=postgres://postgres:PASS@localhost:5432/spacebar
CONFIG_PATH=config.json
STORAGE_LOCATION=/mnt/hdd/files #Optional
for more environment variables refer to this https://docs.spacebar.chat/setup/server/configuration/env/ now the config.json will be created when using npm run start and then mutate the values too. after mutating values this will be config.json config.json
Client setup
- after cloning and moving to that directory simply
npm run buildandnpm startwill work - In order to connect with custom server, add instance like this. here instanced named 'MySpacebar' is added. this file is in
src/webpage/instances.json[ { "name": "Spacebar", "description": "The official Spacebar instance.", "image": "https://raw.githubusercontent.com/spacebarchat/spacebarchat/master/branding/png/Spacebar__Icon-Discord.png", "url": "https://spacebar.chat" }, { "name": "MySpacebar", "description": "My Own Spacebar instance.", "url": "http://localhost:3001" }, { "name": "Fastbar", "description": "The best Spacebar instance with 95% uptime, running under on a NVME drive running with bleeding edge stuff <3", "image": "https://spacebar.greysilly7.xyz/logo.png", "url": "https://greysilly7.xyz", "language": "en", "country": "US", "display": true, "urls": { "wellknown": "https://greysilly7.xyz", "api": "https://api-spacebar.greysilly7.xyz/api", "cdn": "https://cdn-spacebar.greysilly7.xyz", "gateway": "wss://gateway-spacebar.greysilly7.xyz" }, "contactInfo": { "discord": "greysilly7", "github": "https://github.com/greysilly7", "email": "greysilly7@gmail.com" } } ]
personal bash script to open server, client and scn server
#!/bin/bash

SESSION="spacebar_session"

FIRST_COMMAND='nvm use 24 && cd "/home/hpmi/Videos/imp/github_forks/set2/spacebar/server" && npm run start'
# SECOND_COMMAND='nvm use 24 && cd "/home/hpmi/Videos/imp/github_forks/set2/spacebar/spacebar client/Fermi" && npm run start1'
SECOND_COMMAND='nvm use 24 && cd "/home/hpmi/Videos/imp/github_forks/set2/spacebar/spacebar client/Fermo" && caddy run --config ./Caddyfile'
THIRD_COMMAND='cd "/media/hpmi/Seagate/main/symlinks/selfBot/files" && python3 -m http.server 3003'

tmux  new-session -d -s  $SESSION

#C-m emulates pressing enter key
tmux send-keys -t $SESSION:0 "$FIRST_COMMAND" C-m

#create a new window of index 1 with name 'logs'
tmux new-window -t $SESSION:1 -n "client"
tmux send-keys -t $SESSION:1 "$SECOND_COMMAND" C-m

tmux new-window -t $SESSION:2 -n "cdn_serve"
tmux send-keys -t $SESSION:2 "$THIRD_COMMAND" C-m

tmux attach-session -t $SESSION
fermo
so fork fermo then npm build
now for static hosting, make some rewrites
by caddy
http://localhost:8080 {
    root * "/home/hpmi/Videos/imp/github_forks/set2/spacebar/spacebar client/Fermo/dist/webpage"
    file_server

    # Fallback rewrites for specific path prefixes
    rewrite /channels/* /app.html
    rewrite /invite/* /invite.html
    rewrite /template/* /template.html

    # Static file routing with a custom 404 fallback
    try_files {path} {path}/ /404.html
}
nginx
server {
    listen 80;
    server_name localhost;

    root /path/to/fermo/dist/webpage;
    index index.html;

    location /channels/ {
        rewrite ^ /app.html last;
    }

    location /invite/ {
        rewrite ^ /invite.html last;
    }

    location /template/ {
        rewrite ^ /template.html last;
    }

    # Static files and directories
    location / {
        try_files $uri $uri/ /404.html;
    }

    error_page 404 /404.html;
}
for spacebarchat ferno pull requests
You can log in with codeberg or Github or create a full sovrahi account, to send a commit the easiest way is to create a token in the forgejo token and do https://[yourtoken]@git.sovrahi.com/yourfork Then create a pull request
how to explain it better hmmm
you go on https://git.sovrahi.com/oh64/Fermo click on "Fork" then confirm
once in your fork copy the link to it (the url should be different)
in your account setting, go in https://git.sovrahi.com/user/settings/applications
Create a new token need to give it read and write for repository
then on your computer (you need git installed) you make a git clone https://git.sovrahi.com/yoururl OR this step you can also do git clone https://[yourtoken]@git.sovrahi.com/yoururl
but if you do it the first way it will ask for the token when you will try to push
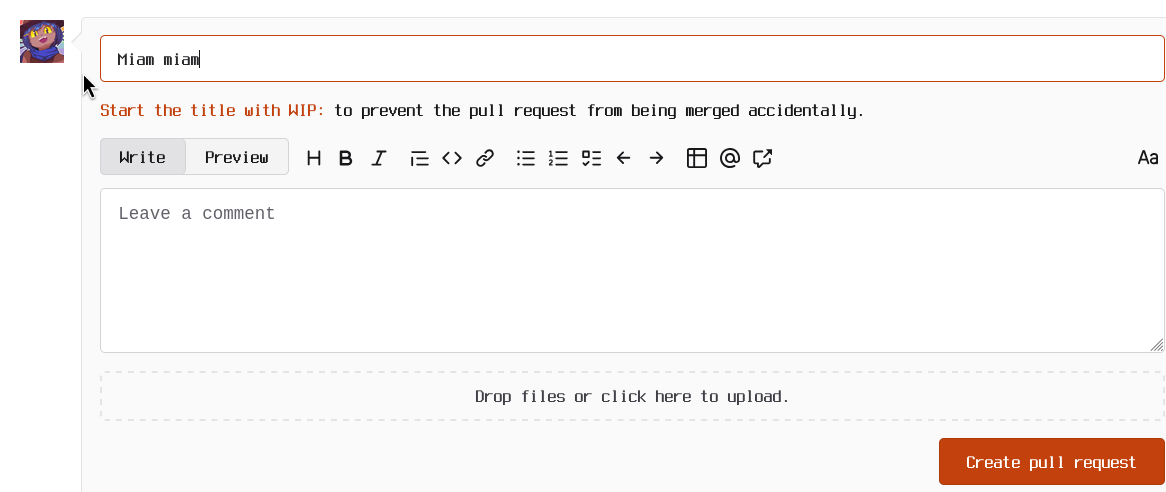
on the fermo repo, on pull request, click on "new pull request" explain your things and create it!