
12 KiB
Heroku
Connecting with PostgreSQL Database
Heroku alternatives:
https://www.youtube.com/watch?v=UZsMx_7LEj8
https://www.youtube.com/watch?v=MusIvEKjqsc
https://bloggersdesire.com/hosting-trial-no-credit-card/ : site
https://www.guru99.com/free-web-hosting-sites.html
uptimerobot nodejs for bots
qovery glitch : for hosting
surge : for frontend https://host.ehxz.tk/
replit
deta cloud: https://www.deta.sh/ nodejs
adaptable io
back4app
coolify : self hosted platform means we need our own server
for deta cloud server file should be index.js not app.js or server.js and at last of index.js add this:
module.exports=app where app=express()
elephantSQL : for postgreSQL
https://supabase.com/pricing : for postgres
https://www.youtube.com/watch?v=prjMJtXCR-g : with database too
https://ekomenyong.com/posts/how-to-setup-free-postgresql-database-on-railway-app
https://blog.railway.app/p/postgre-backup
-
Puppeteer on render cloud
https://render.com/docs/deploy-puppeteer-node
Browser as service : https://dashboard.phantomjscloud.com/
https://phantomjscloud.com/docs/http-api/#script-examples
video related to it : https://www.youtube.com/watch?v=lcSMCta1Bcg
uploading on vercel : https://www.youtube.com/watch?v=X6VIWHl3JmM
-
code for uploading in vercel
const btoa = require("btoa");
const path = require("path");
let chromium;
// Check if we are running locally or on Vercel
if (!process.env.AWS_LAMBDA_FUNCTION_VERSION) {
  const puppeteer = require("puppeteer");
  chromium = {
    puppeteer,
  };
} else {
  chromium = require("chrome-aws-lambda");
}
const renderHTML = require("./render-html");

/**
 * Normalizes the theme name by adding a prefix `jsonresume-theme` if not present
 * @param {String} value Name of the theme
 * @param {String} defaultValue Default Theme
 */
const normalizeTheme = (value, defaultValue = "even") => {
  const theme = value || defaultValue;

  // If theme has a relative path provided, immediately return
  if (theme[0] === ".") {
    return theme;
  }

  return theme.match("jsonresume-theme-.*")
    ? theme
    : `jsonresume-theme-${theme}`;
};

/**
 * Returns the theme Package
 * @param {String} theme Normalized theme name
 */
const getThemePackage = (theme) => {
  if (theme[0] === ".") {
    theme = path.join(process.cwd(), theme, "index.js");
  }

  try {
    const themePackage = require(theme);
    return themePackage;
  } catch (err) {
    // Theme not installed
    throw new Error(
      "You have to install this theme relative to the folder to use it e.g. `npm install " +
        theme +
        "`"
    );
  }
};

/**
 * Parses the `resumeJson` to render a pretty HTML
 * @param {Object} resumeJson Resume data
 * @param {String} themeName Name of the theme
 */
const parse = async (resumeJson, themeName) => {
  const html = await renderHTML({
    resume: resumeJson,
    themePath: themeName,
  });
  return html;
};

// See https://vercel.com/knowledge/how-to-enable-cors
const allowCors = (fn) => async (req, res) => {
  res.setHeader("Access-Control-Allow-Credentials", true);
  res.setHeader("Access-Control-Allow-Origin", "*");
  res.setHeader(
    "Access-Control-Allow-Methods",
    "GET,OPTIONS,PATCH,DELETE,POST,PUT"
  );
  res.setHeader(
    "Access-Control-Allow-Headers",
    "X-CSRF-Token, X-Requested-With, Accept, Accept-Version, Content-Length, Content-MD5, Content-Type, Date, X-Api-Version"
  );

  // Handle CORS pre-flight
  if (req.method === "OPTIONS") {
    res.status(200).end();
    return;
  }

  return await fn(req, res);
};

const handler = async (req, res) => {
  try {
    const { resumeData } = req.body;
    const normalizedTheme = normalizeTheme(resumeData.meta.theme, "even");
    const themePackage = getThemePackage(normalizedTheme);
    const html = await parse(resumeData, normalizedTheme);
    const browser = await chromium.puppeteer.launch();
    const page = await browser.newPage();
    await page.emulateMediaType(
      (themePackage.pdfRenderOptions &&
        themePackage.pdfRenderOptions.mediaType) ||
        "screen"
    );
    await page.goto(
      `data:text/html;base64,${btoa(unescape(encodeURIComponent(html)))}`,
      { waitUntil: "networkidle0" }
    );
    if (themePackage.pdfViewport) {
      await page.setViewport(themePackage.pdfViewport);
    }
    const pdf = await page.pdf({
      format: "Letter",
      printBackground: true,
      margin: {
        top: "0.5in",
        bottom: "0.5in",
        left: "0.5in",
        right: "0.5in",
      },
      ...themePackage.pdfRenderOptions,
    });

    await browser.close();

    res.setHeader("Content-Type", "application/pdf");
    res.setHeader("Content-Length", pdf.length);
    res.send(pdf);
  } catch (err) {
    res.status(500);
    res.json({
      error: err,
    });
  }
};

module.exports = allowCors(handler);
-
-
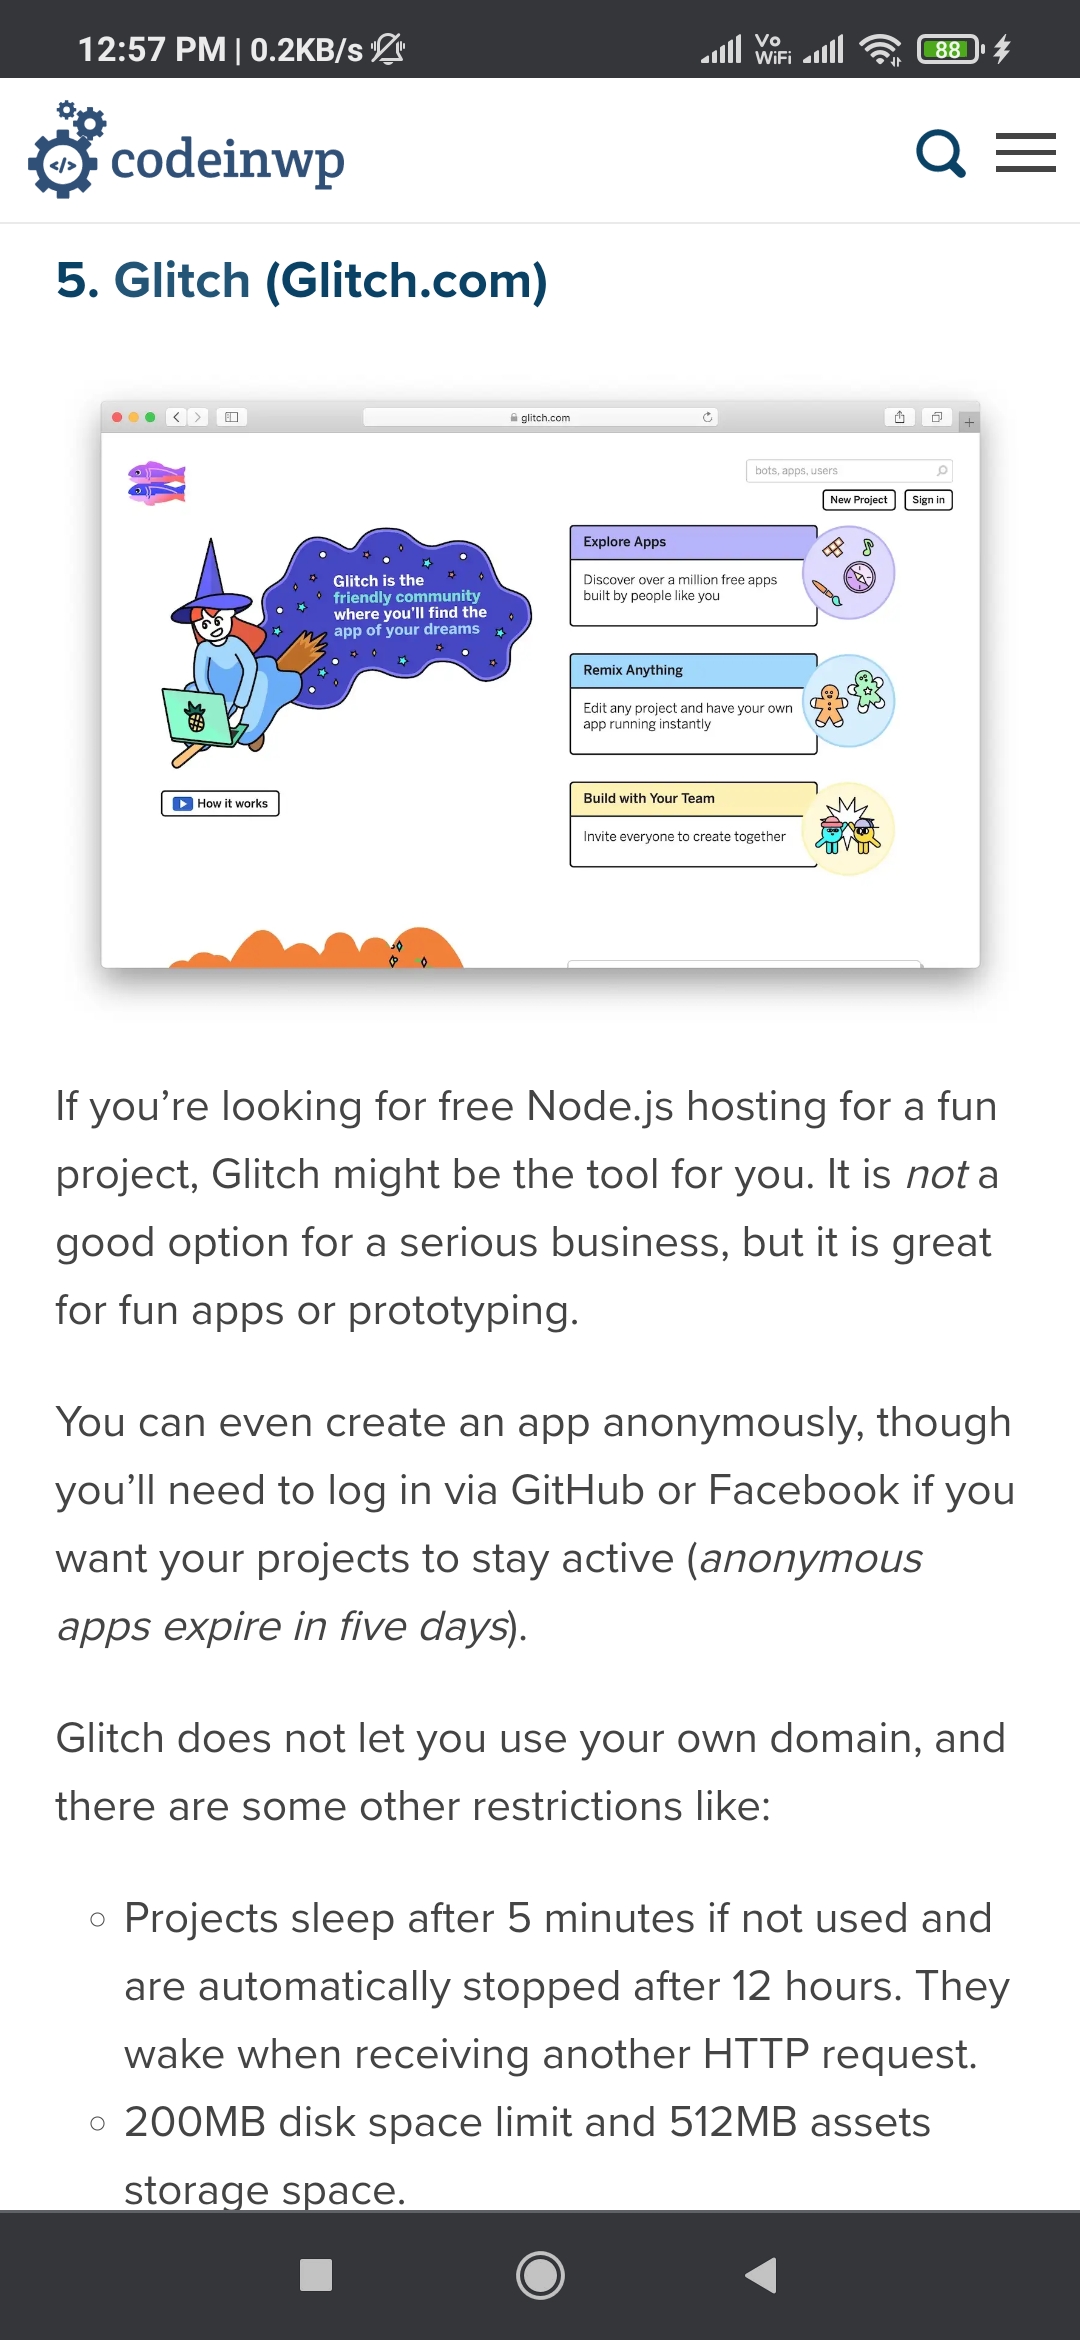
Glitch(to test the app without hosting)
https://www.youtube.com/watch?v=3hVf4Giy5nc
-
Puppeteer on glitch
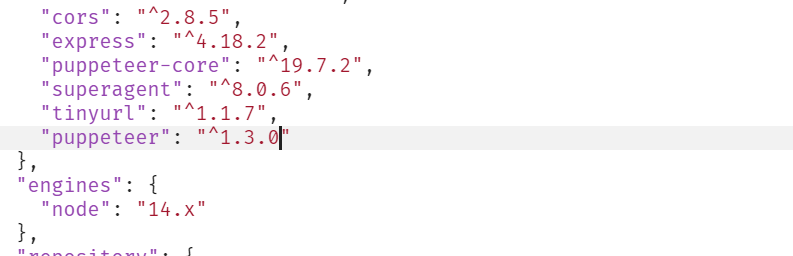
this should be the version ie 1.3.0 not the latest one
const browser = await puppeteer.launch({ args: ['--no-sandbox'] }); -
FireBase
https://www.youtube.com/watch?v=WaYPrpOvsZE
-
Guide
To host a Node.js application in Firebase, you can follow these steps:
-
Set up Firebase: Visit the Firebase website (https://firebase.google.com/) and create an account if you don't have one already. Once logged in, create a new project.
-
Install Firebase CLI: Install the Firebase Command Line Interface (CLI) globally on your machine by running the following command in your terminal:
Copy code npm install -g firebase-tools -
Initialize Firebase: In your terminal, navigate to your Node.js project's root directory. Run the following command to initialize Firebase within your project:
csharpCopy code
firebase init
This will prompt you to select the Firebase features you want to use. Choose "Hosting" and select your Firebase project from the list.
-
Configure Firebase Hosting: During the initialization process, you'll be asked to configure Firebase Hosting. Set the public directory to the folder containing your Node.js application's static files. If your Node.js app serves static files from a
publicfolder, you can specify it as the public directory. Firebase Hosting is designed to host static files, so for a Node.js application, you'll need to configure Firebase to serve the static files while handling dynamic requests. -
Modify Firebase Configuration (Optional): If your Node.js application requires additional server-side configuration, you can modify the generated
firebase.jsonfile to include arewritesproperty. This allows you to define rules for routing requests to your Node.js application. For example:jsonCopy code "rewrites": [ { "source": "**", "function": "yourNodeJsFunction" } ]This configuration redirects all requests to your Node.js function. Replace
"yourNodeJsFunction"with the appropriate function name. -
Deploy to Firebase Hosting: Once your configuration is complete, deploy your Node.js application to Firebase Hosting by running the following command:
Copy code
firebase deploy
This will upload your static files and deploy your Node.js application to Firebase Hosting.
-
Access Your Deployed Application: After the deployment is successful, Firebase will provide you with a URL where your Node.js application is hosted. You can access it from any web browser.
Keep in mind that Firebase Hosting is primarily designed for hosting static files, so it might not be suitable for all types of Node.js applications. If your application has specific server-side requirements or requires more complex routing and API functionality, you might need to consider other hosting options like virtual private servers (VPS), cloud platforms, or dedicated Node.js hosting providers.
Also, ensure that your Node.js application is properly configured to handle production deployments and security considerations such as environment variables and authentication mechanisms.
for testing locally use
firebase serve -
-
-
Video hosting platform
1: vimeo 2: vidyard